How to Make Your Kitchen Knives Last A Lifetime: 7 Do’s and Don’ts
Understanding Your Kitchen Knife
Kitchen knives are designed to be thin slicers that cut food easily, quickly, and efficiently. To achieve this, kitchen knives are made relatively thin – with a thin edge at an acute angle.
The first thing to realize is that your edge has a certain lifespan, the more the edge touches, the shorter the span. Just normal use will eventually dull the blade over time - but hard materials can dull the blade SIGNIFICANTLY faster. I believe that the vast majority of kitchen edge dulling occurs not from regular use, but rather from misuse.
Watch this video for a quick run down on using your knife:
# 1: DON’T Cut Or Expose The Edge To Anything Except Food.
 Kitchen knives are designed to cut food and nothing else. This will make the biggest difference in how long your edge lasts, and is the most important thing to remember.
Let me give you some examples of common mistakes. Avoid the following:
- Don’t cut frozen food or ice.
- Don’t cut bone.
- Don’t use the knife like a cleaver.
Your knife is thin; do not use it like a cleaver - unless it’s a cleaver, in which case it isn’t nearly as thin. Keep your regular kitchen knives limited to light chopping and slicing tasks.
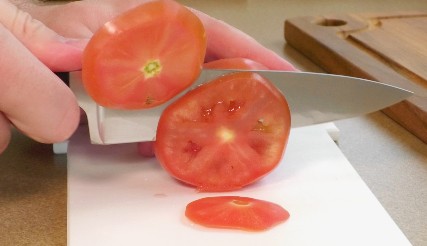
# 2: Always use a cutting board.
 Never cut food on top of anything that is hard, especially things that are harder than your knife is. This includes glass, granite, metal, and ceramic dishes.
You want your knife-edge to have as soft a contact with your cutting board as possible. If we could cut food without cutting boards, we would - it would be one less thing to wash and your knife-edge would last longer. Since that’s not feasible, your cutting board should at least be a material that’s going to be gentle on your knife.
Your cutting board should be wooden or plastic. If your cutting board is soft enough to get scores in it (marks from the blade), that’s good - that means it is soft enough. If your scores are numerous or deep, then you are cutting too hard and past the food into the board, which reduces your knife edge’s lifespan. Cutting boards that are heavily scarred and scored should be replaced – or resurfaced if they are wooden. These scores create breeding grounds for bacteria.
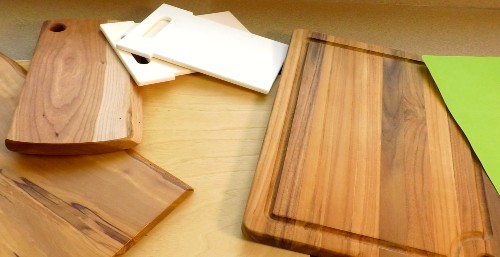 Cutting Boards
Walnut, Bamboo, Teak, and plastics cutting boards work best – although there are other materials that work well too.
Research shows that wooden cutting boards are perfectly safe to use because most woods are bacteria resistant. However, wooden cutting boards cannot be run through the dishwasher – which can make full sanitization a little harder.
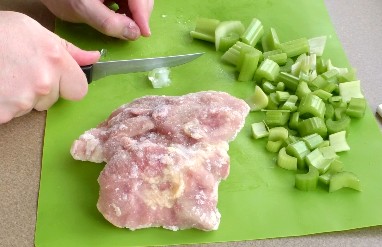
Plastics, on the other hand, can be bleached, as well as run through the dishwasher. This will help thoroughly clean them and kill nasty things like salmonella.
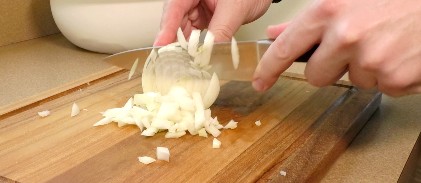
To get the best use out of the materials, use plastic cutting boards for meats so that you can either disinfect it with bleach or wash it through the dishwasher. Use wooden cutting boards for breads and vegetables to avoid cross contamination and discourage bacterial growth. No matter what materials you end up choosing, it’s generally a good idea to keep separate boards for meats and vegetables.
Note - Never scrape food off your board with your knife-edge, use the spine of the blade so you don’t dull your edge. Remember, the less contact your edge has, the longer it will remain sharp – especially contact with non-foods.
Pro-Tip 1: Wash both sides of a wooden cutting board – if you only wash one side, when it dries out it can warp the board so that it no longer sits flat.
Pro-Tip 2: You should occasionally treat your wooden cutting board with food safe mineral oil to keep it in top condition and help it repel water. Water soaking too deep into your wood will create bacteria breeding grounds – which is one reason you don’t want to soak your wooden cutting boards in water. Clean and let your board air dry thoroughly. Then use a generous amount of food grade mineral oil all over your board and let it soak in. Wipe off the excess, and then let it air dry leaning up against a wall with a paper towel between it and the wall for 24 hours.
Watch this video for a quick run down on how to clean & store your knife:
#3: ALWAYS Hand Wash Your Knives - Never Use the Dishwasher.
Always hand wash and then immediately dry your knife.
- Do not scrub it along the edge; scrub it from the back off the edge.
- Let the soap sit for ~30 seconds. Just like washing your hands, the soap needs time to kill & breakdown germs.
- Use a brush for serrated knives to get into the crannies of the teeth.
- Dry your knives well - I use a cotton-drying towel. Do not let your knife air-dry. You don’t want to expose your knife to water longer than you have to.
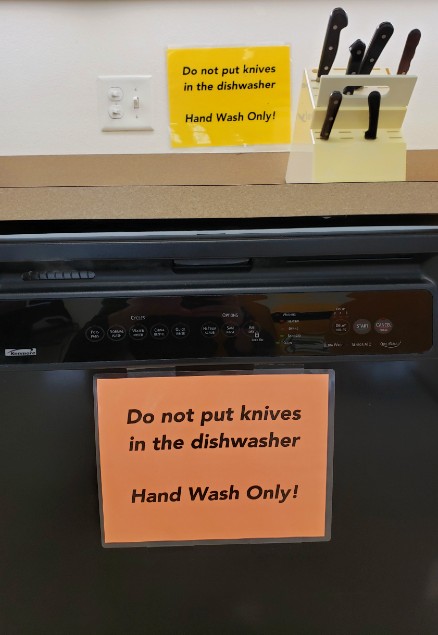 Why you shouldn’t run your knives through the dishwasher
Never use the dishwasher to clean your knives, even if your knives say they are “dishwasher safe.” A “dishwasher safe” knife only means the handle is safe for the dishwasher.
Using the dishwasher damages both your knives AND your dishwasher. The sharp edges of the knife, battered around by water, cut into your dishwasher plastic and coated metal racks. This could cut into the protective coating on your racks, and cause rust and damage. Or your knife could bounce off your other dishes. Everything your blade edge hits is bad for the edge.
Dishwashers shoot hot water with sediment at your knife - which can dull your knife. The prolonged exposure to water and heat can damage knife handles. The detergent in the water can cause dulling, and both liquid and powdered detergents are typically high alkaline soap solutions that can chemically damage the thin edge.
Kitchen Knives are Stain LESS, not Stain FREE. In the dishwasher, your knife is exposed to water for far longer than it would be with hand washing and drying. The longer your knife spends wet, the more prone it will be to rusting. Try to avoid exposing your knife to water for periods of longer than 2-3 minutes.
Other materials you shouldn’t put in the dishwasher:
- Silver
- Brass
- Cast Iron
- Bronze
- Aluminum
- Pewter
- Gold-leaf
- Disposable Plastic
- Wood
- Fine Glassware
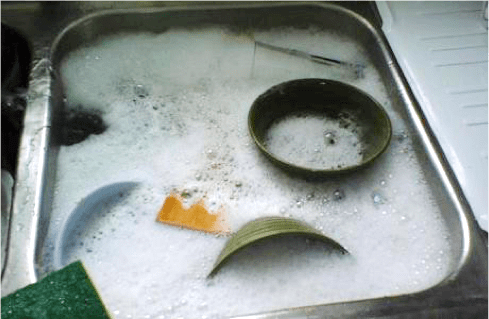
#4: Never Leave Your Knife Soaking in the Sink.
 Ideally, you should wash your knife right after using it.
Don’t leave your knives soaking in a soapy sink, especially with other dishes. It’s dangerous for yourself and others reaching in trying to find (or not knowing about) the knife. You also don’t want your knife-edge to bang on other dishes or on the sink. Your knife could get scratched, chipped, or break a tip. Long term soaking in water can damage the handle and potentially rust the blade. Wooden handles are especially vulnerable to soaking too long in water.
Life happens though, and sometimes it gets forgotten. Struggling to remove crusty food can be dangerous. If food has dried hard on your blade, you should soak it in clear warm water for no more than 2 minutes - you want to limit how much contact your knife has with water.
 #5: Store your Knives Carefully.
You shouldn’t store your knives in the utensil drawer for the same reasons you shouldn’t put knives in soapy sink water – it’s dangerous for both the knife and others.
Instead, safely store your knife in a knife block, a Blade Safe, or on a magnet.
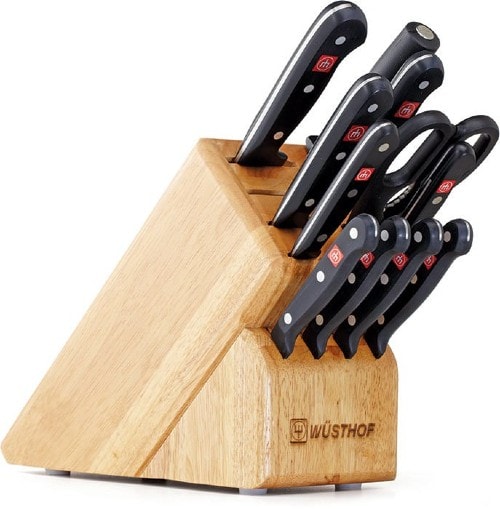
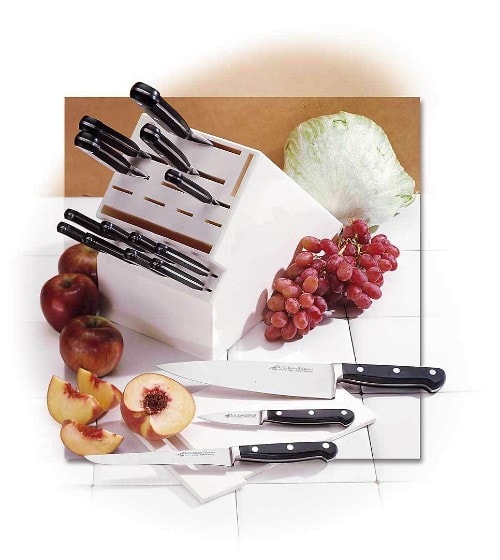
Knife Blocks
When you are taking out or putting your knife back into your knife block, take care to not let the edge touch the block. The edge scraping along the block will dull the knife.
If you are using a knife block that has vertical slots, store it with the blade edge up to avoid dulling the edge.
Be sure when shopping for knife blocks that it’s sturdy and won’t fall over if bumped. A poorly designed knife block will spill the knives across your counter – potentially dangerous to you and your knives.
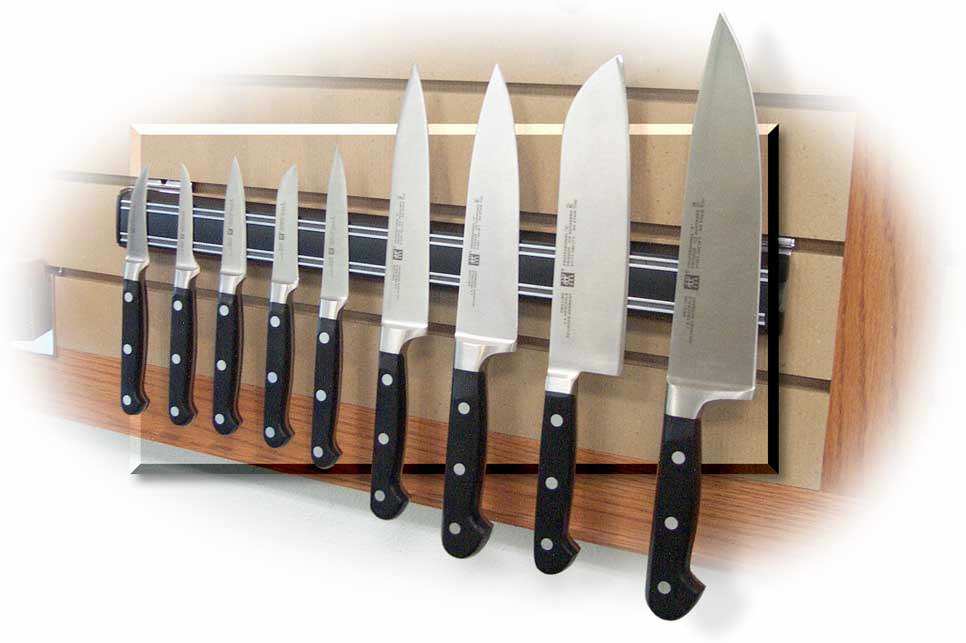 Magnet Bars
Magnets work great because they keep your counter space clear and they are easy to clean.
When removing or placing a knife from your magnet bar, keep the spine (back) of the blade in contact with the bar. Remove the blade edge side first, then the spine. When placing the knife on the bar, place the spine of the blade on first, then the edge. You want to avoid any contact with the edge and the bar.
A magnet bar with exposed magnets will be stronger and hold heavier knives – however, metal on metal isn’t ideal for your knife so be careful removing and replacing your knives.
A magnet bar with wood covering the magnets is less likely to damage your knife directly, but also tends to have less magnetic power to hold your knife. A bar that drops your knife has no worth, and is dangerous to you and the knife. Make sure any magnets you get are strong enough to hold your biggest, heaviest knife you plan to store on it. You don’t want your 8” kitchen knife falling on you just because it was slightly bumped.
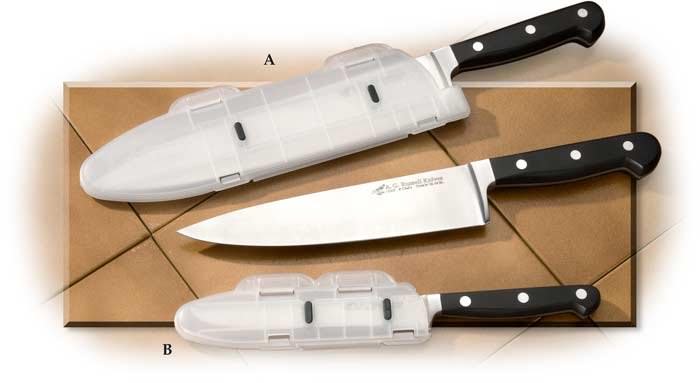
Blade Safes
There is a great product called a Blade Safe, which is a protective case that will snap around your kitchen knife, and make it safe to place in a kitchen drawer. This is a great solution for those who don’t have the counter space for a knife block or the wall space for a magnet bar.
Pro Tip – Clean Your Knife Storage
Even if you do your best to clean your knives, over time your knife storage will accumulate food debris and dirty up. A lot of folks don’t think about this, but your knife block needs to be cleaned too.
Wooden knife blocks look nice on the counter and are usually bacteria resistant, but with their design they also tend to retain moisture, creating a breeding ground for bacteria. You should keep your knives and knife blocks as dry as possible.
Wooden knife blocks need to be cleaned on a regular basis. You will need a solution of bleach and water (1 to 10 ratio) and a long pipe cleaner to clean the slots.
Plastic blocks are great because they can typically be safely washed in the dishwasher. Be sure to check the manufacturer recommendations with dishwashers – delicate parts may warp in the bottom rack, or may need to be hand washed.
#6: A Light Coat of Mineral Oil Goes A Long Way.
A light coating of food grade mineral oil will help protect your blade from corrosion. Mineral oil will also extend the lifespan of wooden handles.
Be certain that your mineral oil specifically states that it is food safe – there are mineral oils that are not food safe. Food Grade Mineral Oil is not very expensive, and can often be found in the Personal Care/Pharmacy or Home Essential sections of the supermarket.
When & How Often Should I do this?
A proper stainless steel knife with a synthetic handle in a location without too much humidity will probably be fine. I haven’t had corrosion problems on the majority of my kitchen knives. Even still – I have had a couple spots of rust here or there that I had to scrub off. A light coat of mineral oil is suggested if you want to play it safe.
Any of the following should get a protective coating of food grade mineral oil:
- High Carbon non-stainless steel knives (or a patina).
- Wooden handled knives, especially if you live in really dry areas.
- Anyone who lives on the coast or places with high humidity.
How Should Oil Be Applied?
For an 8” kitchen knife, a couple small drops on each side of the blade should be sufficient. Use clean fingers to VERY CAREFULLY spread the oil over the blade. I have cut myself more often while oiling and polishing a blade than I ever have sharpening or even using one. Never run your finger along the edge, always carefully push off the edge. Wipe off any excess.
For wooden handles that haven’t been resin impregnated, use enough oil to rub into the handle to completely coat it and let it soak in. Then wipe off any excess and let it dry completely for 24 hours.
 #7: Keep Your Knives Sharp.
Keeping your knives sharp is one of the most important things to do. A sharp knife is much safer to use because it’s less likely to cause accidents while struggling to cut something. Most folks know this; it is, however, still a common problem because let’s be honest, sharpening knives can be a little daunting.
Most chefs will tell you to use a honing rod to hone your knives, and a stone to sharpen them. A sharpening stone is probably the best way to sharpen your knives – at least for professionals. The problem is both honing rods and sharpening stones take experience and skill.
Electric sharpeners and other pull through sharpeners usually take away far too much metal and can often be very bad for your knives – your knives won’t last a lifetime using those on a regular basis.
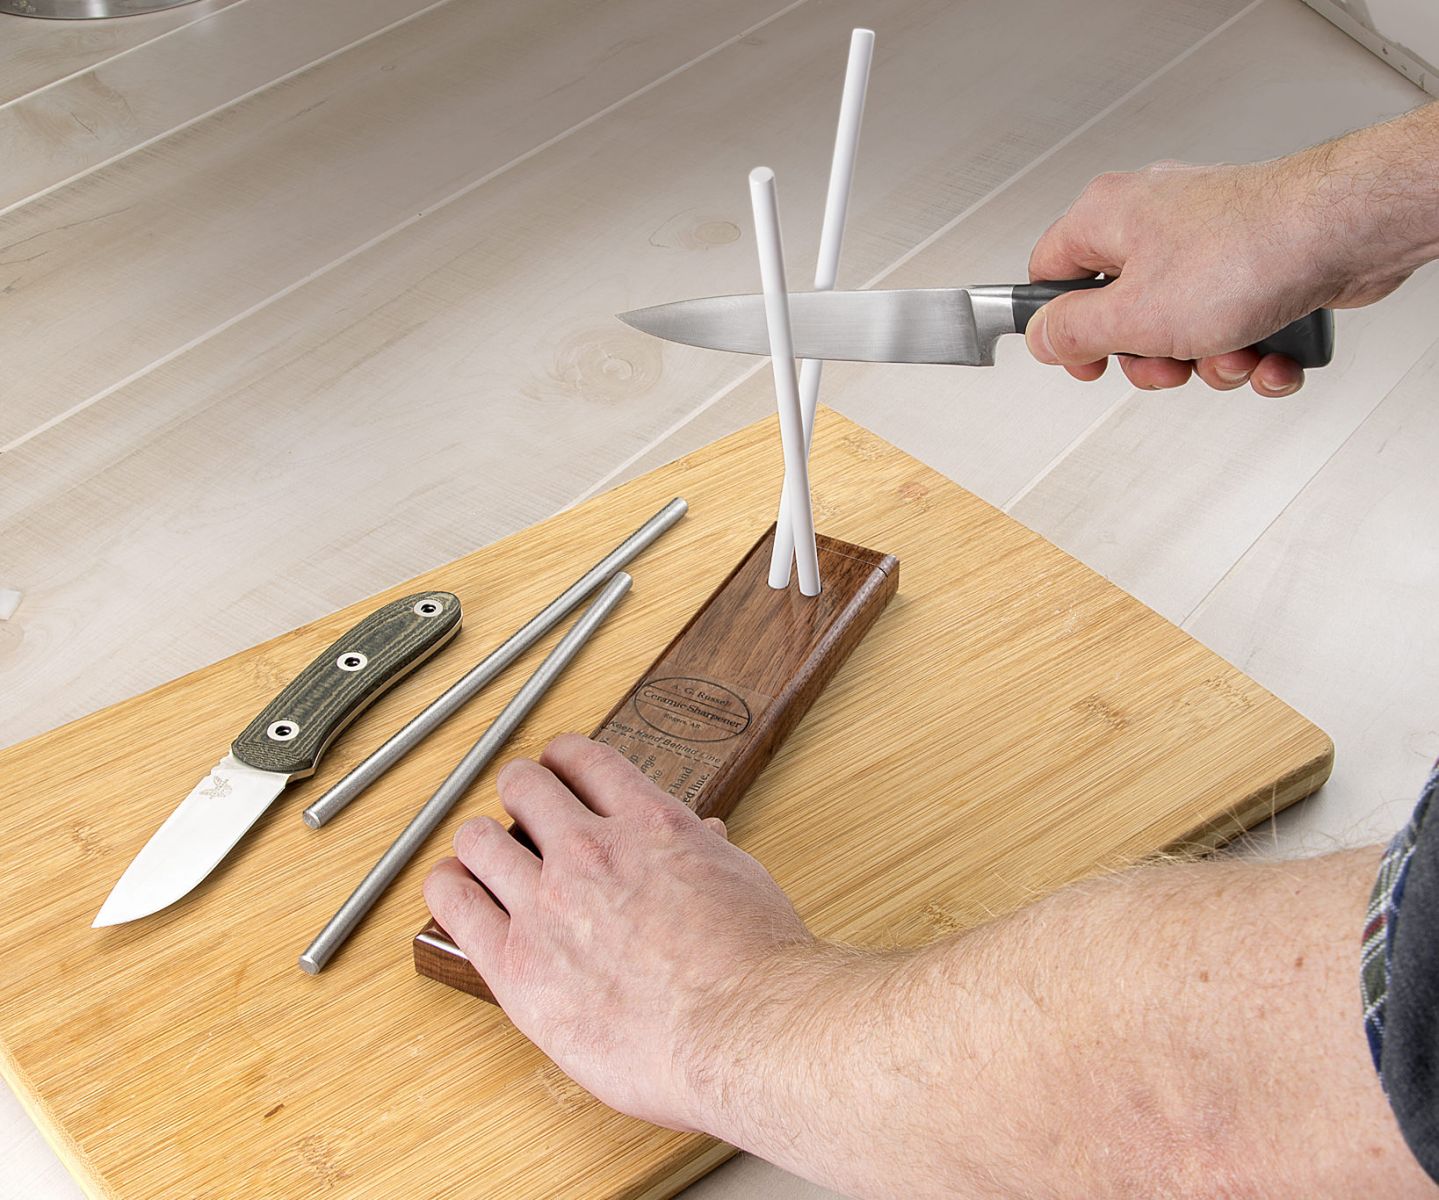
Preferred Solution
The easiest solution is to take really dull blades to be professionally sharpened, and thereafter maintain your knives on Ceramic Rods with a pre-set angle. This will get you the accuracy and low material removal rate of the stone paired with the ease of an electric sharpener.
Learn more about sharpening from our Sharpening page.
Written by Jake Broce 5/15/20.